Integrate Ownly with Lasso using Zapier
Just like HubSpot, we also integrate with Lasso CRM, the steps are fairly similar but with very little differences. This article explains you a step-by-step procedure to push data from Ownly to Lasso using Zapier. Before you continue following this article, please ensure that you complete requesting the information from the client as mentioned in this article.
Pre-requisites
A new Zapier account to connect, please see this article for reference if you have not done so.
An Active Ownly Connection.
Lasso Project Name and API Key for the same Project, see this article if you haven't done so.
Create a Zap for pushing data
In order to create a zap, we need a trigger and an action. The trigger here would be the Contact Creation in Ownly and the Action will be update or create registrant. So we need to use the following steps
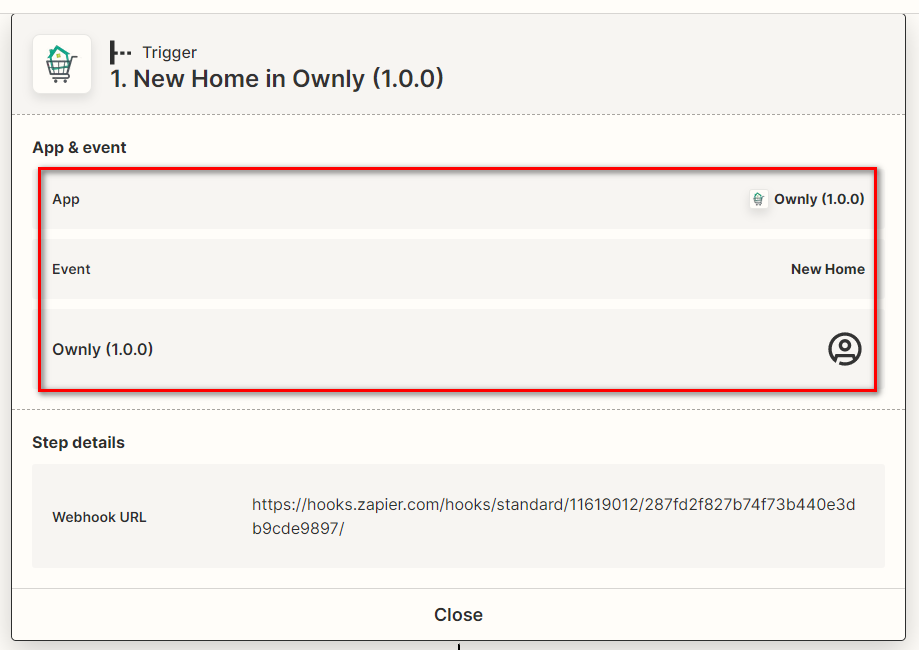
Select Ownly as a trigger app as a first step as shown in the screen shot.
Once the Trigger is set, select Lasso CRM from the Actions and select the event "Update or Create Registrant"
Now, select the Account for the Lasso CRM, here's where we enter the information for the Lasso Project Name and the API Key.
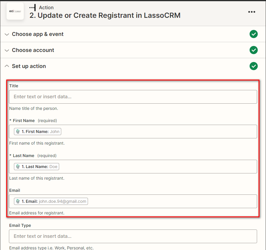
Once the Connection is successful, proceed to the step where you set-up action map the information from Ownly to the fields in Lasso. It is as simple as selecting the field value and filling it with the appropriate sample data from Ownly.
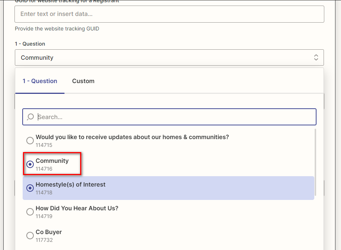
As you go through filling the data, you will find some questions below the contact information, select the appropriate questions as applicable to the data we push from Ownly and save the Zap.
Once the Zap is connected, and the test is successful, you can proceed to test out the integration by saving a home on the customer's site.
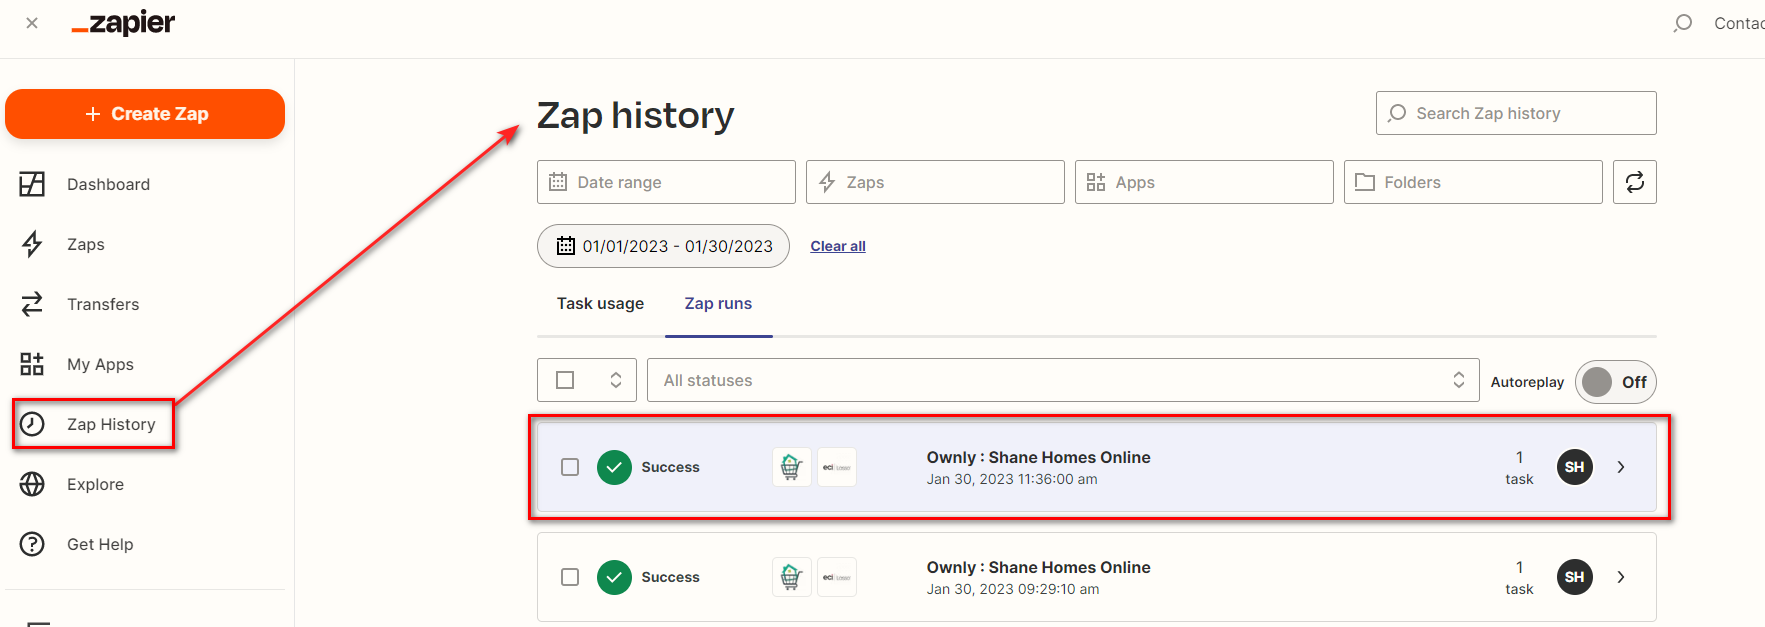
You can confirm that the data is pushed properly, by looking at the Zap History.